Water Heater Repair: DIY Fixes vs. When to Call a Plumber
No hot water? Leaking tank? Pilot light won't stay lit? A practical guide to which water heater repairs you can DIY safely and which ones need a professional.

April 1, 2026
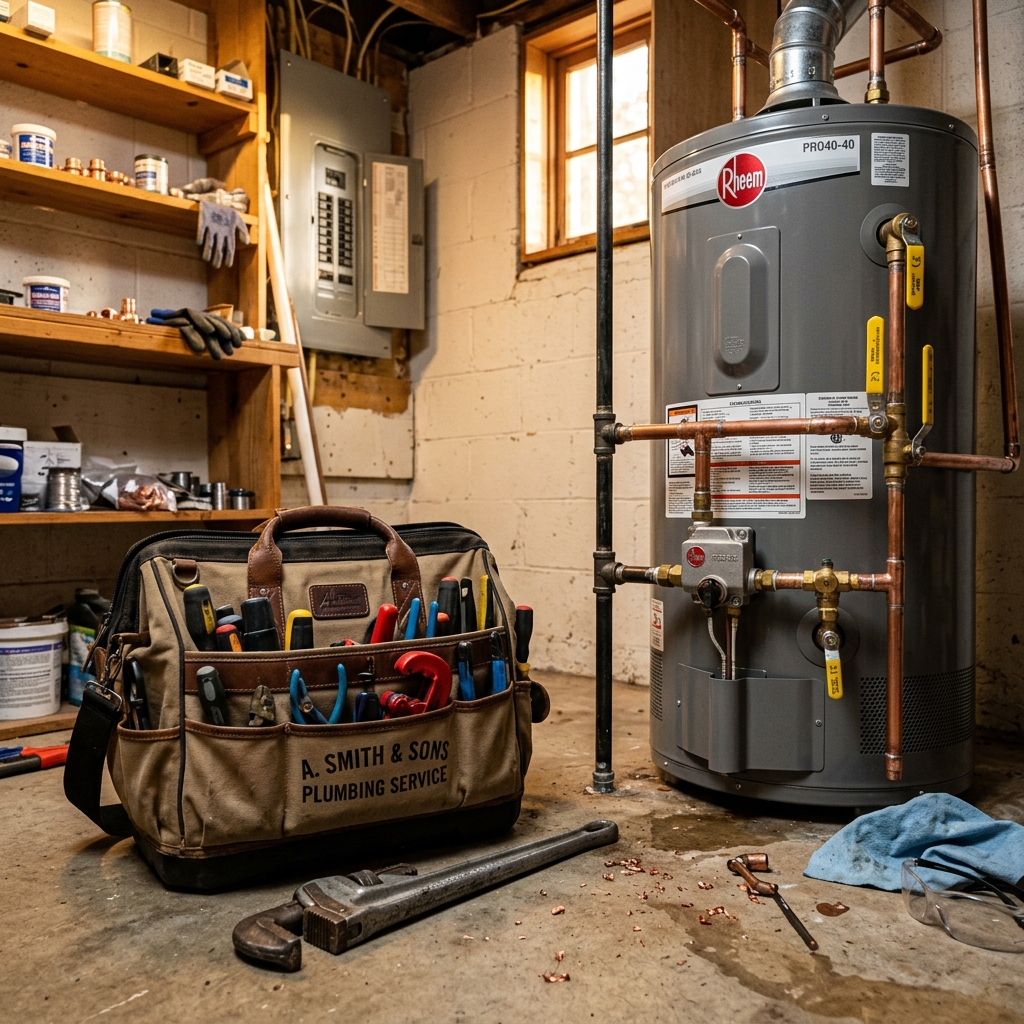
Safety Disclaimer
Water heater maintenance involves working with pressurized systems, scalding hot water, and potentially hazardous electrical or gas connections. Always shut off power (electric heaters) or gas supply (gas heaters) and allow water to cool to a safe temperature before beginning any maintenance. Wear appropriate safety equipment including gloves and eye protection. If you're uncomfortable with any step, contact a licensed plumber.
Unique angle here: repairable-part vs replace-the-tank before you call or shop a heater. Age alone is not a death sentence, and a puddle at the base is not always a dead shell.
Desk note: Cost bands below are hardware and service-call research ranges, not quotes. This desk does not claim that “half” of failures are DIY. The split is the part: a drain valve, an element, a thermocouple, or a T&P is often a parts-bin job. A wet steel jacket is a replacement. Gas-line and 240-volt mistakes are injury and flood risk, not a savings tip.
Fuel and machine type if you are replacing on purpose: electric vs. gas and tank vs tankless.
Before You Call or Shop a Heater
- Smell test. Gas odor is a utility emergency, not a YouTube relight.
- Glass test. Hot brown, cold clear points at the tank or the hot piping. Both sides brown points at the well or the main. Steps: why hot water is brown or rusty.
- Look at the floor. Water from the steel jacket or under the foam is a failed tank. Water from a fitting, the drain valve, or the T&P discharge is a different page: water heater leaking from the bottom.
- Read the rating plate. Serial numbers usually encode year and week. “It feels old” is not a date. A 6-year wet shell is done. A 11-year dry tank with a dead element is a part.
- Then price the part vs a heater. An element, a T&P, a drain valve, or a thermocouple is a hardware-store ticket. A leaking shell is not.
If the tank stays in service and you want a warning on the floor, a pan sensor is the useful buy — not a whole-house shutoff kit you do not know how to plumb. The Govee WiFi water leak detector three-pack is the hub-plus-puck set already used on this site. One sensor in the pan is enough. Compare options in best water leak detectors.
Listing check (repair vs replace parts): confirm the SKU is the failed fitting (drain valve, T&P, element, thermocouple) — whole-heater listings and RV point-of-use tanks share the same “water heater repair” browse.
More symptom pages sit on the troubleshooting hub.
Quick Diagnosis Table
| Symptom | Likely first cause | Desk split | Research cost |
|---|---|---|---|
| No hot water (gas) | Pilot out | DIY relight by the jacket label | $0 |
| Pilot will not hold | Thermocouple | DIY part if no gas smell | $8–$20 part; $80–$150 hired |
| No hot water (electric) | Breaker, ECO, element | DIY test; pro if the breaker retrips | $0–$30 DIY; $150–$300 hired |
| Water not hot enough / too hot | Setpoint or thermostat | Measure the tap first | $0 to adjust |
| Drip at drain valve | Seat, sediment, cracked plastic | Repairable valve | $8–$25 valve |
| Water from steel jacket | Failed tank | Replace the heater | Full replacement |
| Rusty hot-only water | Anode / sediment | Flush and inspect rod | $20–$50 rod |
| Popping / rumbling | Sediment | Flush if the valve opens | $0 DIY flush |
| T&P dripping | Pressure or tired valve | Measure PSI; then valve | $15–$30 valve |
1. No Hot Water, Gas
A dead pilot is the usual “failure.” Relight once by the label on the jacket: OFF, wait the printed minutes, PILOT, hold, ignite, hold 30–60 seconds, ON.
Repairable: a thermocouple that lights while you hold and dies when you release. Compact cause list: pilot light compact list. Longer walkthrough: pilot light won’t stay lit.
Call a plumber / the gas company: any gas smell, a control you cannot identify, or a gas valve on a tank that is already wet or past a published 8–12 year window.
2. No Hot Water, Electric
Check the 240-volt double-pole breaker first. Middle position is tripped: fully OFF, then ON. Wait for a reheat.
Repairable: a one-time ECO (red reset) behind the upper access panel after the breaker is off. A dead element you have tested with a meter. The compact digital multimeter already used on this site needs an ohms range, not a plug-in outlet tester. Full sequence: how to test a water heater element.
Call a plumber or electrician: the breaker retrips, you are not willing to open a 240-volt panel, or the tank is wet at the jacket.
3. Leaks
Not every puddle is a dead tank.
Repairable: loose inlet/outlet threads, a drain-valve drip, a T&P discharge. A Camco brass drain valve is the garden-hose-thread upgrade already used on this site when the factory plastic valve weeps. Replacement steps: how to replace a water heater drain valve. T&P diagnosis: how to fix a leaking relief valve. A common residential valve is the Watts 3/4-inch T&P — match 150 PSI / 210°F and the old shank.
Replace the tank: water from the steel cylinder or from under the insulation. Shut heat and the cold inlet. That tank is finished.
If the drip tracks with every heat cycle and the house has a PRV or backflow preventer, check whether you need an expansion tank before you condemn the T&P.
4. Rusty Hot Water
Hot brown, cold clear is the tank or the hot piping, not automatically a new heater.
Repairable: a real flush until the drain runs clearer; inspect and replace a spent anode rod if the shell is dry.
Replace the tank: rust flakes return after a real flush, the rod is gone, and water is at the base of the steel.
5. Popping or Rumbling
Sediment first. Steam under a hard layer pops.
Repairable: the compact hose-and-valve flush if the valve opens. Longer vinegar method: how to flush a water heater (complete guide).
Replace the tank: noise plus a leaking shell, or a bottom that will not drain because it is mineral-concrete.
6. T&P Issues
The T&P is a safety. Do not cap it.
Repairable: measure static pressure on a hose bib, then replace a valve that weeps after a cool, low-pressure tank. Occasional drip on a heat cycle can be expansion, not a bad valve.
Call a plumber: the valve dumps steadily, pressure stays above a typical 80 PSI conversation, or you cannot isolate the tank.
When to Replace Instead of Repair
| Keep and repair | Replace the heater |
|---|---|
| Dry steel jacket | Water from the shell or under the foam |
| One failed part (element, T&P, drain valve, thermocouple, anode) | Stacked failures on a tank already in the published 8–12 year window |
| Drain water clears after a real flush | Rust returns and the rod is gone |
| Research repair under a few hundred dollars | Research repair approaching a new-tank ticket |
Replacement research ranges commonly land around $800–$1,500 installed for a standard tank and $2,000–$4,000 for tankless. Those are listing-and-trade bands, not a bid. Size the new unit with FHR and fixture math instead of matching the old stencil by habit.
Skip DIY, Call a Plumber
- Gas odor, flue spillage, or a gas-control replacement
- Water from the steel shell
- A 240-volt panel you will not de-energize and test
- A seized drain valve or tank fitting you would have to destroy to remove
- A fuel change, a new vent, or a panel upgrade — that is an install, not a repair
For living with a working tank, start at the how to flush hub or the annual maintenance checklist.
Related Guides
- How to Drain a Hot Water Heater
- How to Flush Your Water Heater: Step-by-Step Guide
- How to Flush a Water Heater
- Water Heater Pilot Light Compact List
- How to Test a Water Heater Element
- Electric vs. Gas Water Heaters
- Tank vs. Tankless Water Heaters
- Annual Water Heater Maintenance Checklist
- How Long Do Water Heaters Last?
- Best Powered Anode Rods
- Troubleshooting Hub
- Water Heater Maintenance Tools
Sources
- Manufacturer use-and-care manuals for dry-fire, T&P, and gas-relight order
- U.S. Department of Energy, Water Heating, maintenance vs replacement context
Editorial Team
Nobody should pay a plumber $300 to turn a drain valve. Our guides are built from manufacturer documentation, plumbing code references, and the documented experience of homeowners and plumbers.