Water Heater Maintenance Schedule Checklist (Seasonal Guide)
A month-by-month water heater maintenance schedule covering flushing, anode rod checks, T&P valve tests, and seasonal prep for gas and electric units.

May 25, 2026
Safety Disclaimer
Water heater maintenance involves working with pressurized systems, scalding hot water, and potentially hazardous electrical or gas connections. Always shut off power (electric heaters) or gas supply (gas heaters) and allow water to cool to a safe temperature before beginning any maintenance. Wear appropriate safety equipment including gloves and eye protection. If you're uncomfortable with any step, contact a licensed plumber.
Unique angle here: spring/summer/fall/winter cadence. The printable yearly list is Annual Water Heater Maintenance Checklist. Cabin empty-and-leave-empty is how to winterize a water heater. Fuel-specific extras: gas vs. electric maintenance.
Desk note: Time and dollar bands below are research ranges from manufacturer manuals and typical hardware listings, not a stopwatch or a quote from this desk. This is a HowToDrainAHotWaterHeater.com Editorial Team research-desk sequence, not a shop diary and not a claim that “30 minutes a quarter adds five years.”
Owning a water heater means ignoring it for years and then panicking when it starts leaking or your showers go cold. The fix for that cycle is a schedule. Not a complicated one. Just a handful of tasks spread across the year that keep your tank running clean, heating fast, and lasting as long as the manufacturer designed it to last.
This guide breaks water heater maintenance into a seasonal schedule. Each section covers what to do, when to do it, and what tools you need. Whether you have a gas tank, electric tank, or tankless unit, this schedule covers all three.
Before You Tape the Calendar
Do this in order. Taping a seasonal list over a leaking jacket is how people schedule an anode check on a tank that is already done.
- Confirm the tank is still a schedule job. Water from the steel shell or under the foam is replacement, not a spring flush — water heater leaking from bottom. Gas odor: leave, call the gas company from outside — water heater safety.
- Decide cadence vs one sitting. This page is four seasons. The one-hour printable table is annual water heater maintenance checklist. An unheated cabin is how to winterize a water heater, not a winter “monitor and maintain” note.
- Read sediment signals before you put flush on the spring square. Popping, rusty hot-only water, or a recovery that never catches up is signs your water heater needs flushing. Method: how to flush. Fuel split: gas vs. electric maintenance.
- Then open a listing only for the tool this season actually needs. A Flexzilla 5/8-inch by 50-foot garden hose is the hose this site already points at for the spring flush. The Camco Brass Drain Valve is the 3/4-inch NPT replacement already used on this page if the factory plastic valve weeps. The Rheem Magnesium Anode Rod is the summer-check rod already used on this page. The Taylor Precision waterproof thermometer is the fall tap-check probe this site already uses. A tagged water-heater brass drain valve search is safer than guessing a boiler-cock ASIN.
Listing check (seasonal brass drain valve, not a boiler cock): confirm the thread is 3/4-inch NPT for a tank drain plus a garden-hose-thread outlet — 1/2-inch boiler drain cocks and garden-hose adapters share the same seasonal-parts listing.
Money story: how we make money. Parts bin: water heater maintenance tools.
Why a Maintenance Schedule Matters
Water heater manufacturers design their tanks to last 8 to 12 years. That lifespan language assumes basic maintenance. Skip the flush and anode check, and sediment plus a spent rod are how tanks die early — this desk does not invent a 3-to-5-year bonus for taping this calendar to the jacket.
The three biggest killers of water heaters are sediment buildup, anode rod depletion, and excessive pressure. A maintenance schedule addresses all three before they become expensive problems.
Spring (March through May): The Annual Flush
Spring is flush season. The tank has been working hard all winter heating water to fight cold incoming supply temperatures. Sediment has been accumulating. Now is the time to clear it out.
Full tank flush
This is the single most important maintenance task you will do all year. Sediment settles at the bottom of the tank and insulates the water from the heat source. That forces the burner or element to run longer, which costs more money and puts extra stress on the tank bottom.
To flush your tank properly, follow our complete flushing guide. The short version:
- Turn off the power source (breaker or gas valve).
- Connect a garden hose to the drain valve.
- Open the drain valve and a hot water faucet upstairs.
- Once the tank is empty, turn the cold water supply back on with the drain valve still open.
- Run water through the tank until the discharge runs clear.
- Close the drain valve, refill, and restore power.
For households with hard water, you may need to repeat the flush cycle three or four times. If you have not flushed in several years, consider using the vinegar soak method described in our flushing guide.
Drain valve inspection
While you have the hose connected, check the drain valve itself. A slow drip after closing the valve usually means sediment is caught in the valve seat. Open and close it a few times to clear it. If the drip continues, the valve may need replacement. Our drain valve replacement guide walks through that process.
A quality brass drain valve makes this job easier and lasts longer than the plastic valves that come standard on most tanks. The Camco Brass Drain Valve is a direct replacement for most residential water heaters and is a research-range listing under $10, not a quote from this desk.
Summer (June through August): Anode Rod Check
Summer is the right time to inspect your anode rod. The tank is not working as hard since incoming water temperatures are warmer, so you are not disrupting peak demand.
How to inspect the anode rod
The anode rod threads into a port on top of the tank, usually under a hex head cap. You need a 1-1/16 inch socket on a breaker bar to remove it. If the rod has not been touched in years, it may be seized. Penetrating oil and a 30-minute wait usually does the trick.
Pull the rod out and look at it:
- Still has metal on the core wire: Good for another year.
- Core wire visible, less than 50% of metal remaining: Replace now.
- Core wire fully exposed or rod crumbles: Overdue for replacement. Check the tank interior for rust.
Standard magnesium anode rods cost $15 to $30 and last 3 to 5 years in normal water conditions. The Rheem Magnesium Anode Rod fits most standard residential tanks.
If your hot water has a sulfur or rotten egg smell, a powered anode rod eliminates the odor permanently. See our powered anode rod comparison for recommendations.
For the full inspection process, read our anode rod guide.
Fall (September through November): Safety and Efficiency Check
Fall is about preparing the heater for its hardest season. Winter means colder incoming water, which means the heater runs more frequently. Catch any issues now before they become problems in January.
T&P valve test
The temperature and pressure relief valve is a safety device that opens if the tank overheats or pressure gets too high. Testing it takes 30 seconds:
- Place a bucket under the discharge pipe.
- Lift the lever on the T&P valve for 2 to 3 seconds.
- Hot water should flow freely and stop when you release the lever.
If no water flows, the valve is stuck and needs replacement. If it drips after you release it, sediment may be caught in the seat. Try cycling it a few times. A valve that will not reseat needs to be replaced. This is a $15 part and a 20-minute job, but it is one of the most critical safety components on the water heater. Read more in our water heater safety guide.
Temperature check
Use a cooking thermometer at the hot water faucet closest to the heater. Run the water for two full minutes, then measure. You are looking for 120 degrees Fahrenheit, which is the Department of Energy’s recommended setting.
If the reading is higher than 120, adjust the thermostat down. Our temperature settings guide covers how to locate and adjust the thermostat on both gas and electric units.
Visual inspection
Walk around the heater and check for:
- Water stains or puddles around the base
- Corrosion on pipe fittings and connections
- Rust on the tank exterior
- A pilot light that burns yellow instead of blue (gas units)
- Scorch marks or soot near the burner access (gas units)
Any of these warrant closer investigation. Our guide on signs your water heater is failing helps you assess whether a repair or replacement makes sense.
Winter (December through February): Monitor and Maintain
Winter is not a heavy maintenance period, but there are a few things to keep an eye on.
Check for condensation
Cold incoming water hitting a hot tank creates condensation on the outside of the unit, especially in unheated garages or basements. This is normal and not a leak. But if you see steady dripping from the bottom of the tank itself, that is a different story.
Listen for noises
Popping, rumbling, or knocking sounds during heating cycles mean sediment is accumulating faster than expected. If your fall flush was only a few months ago and you are already hearing noise, your water may be harder than average. Consider moving to a six-month flush schedule. Our popping noise troubleshooting guide covers diagnosis and fixes.
Insulate exposed pipes
If any hot water pipes run through unheated spaces, add foam pipe insulation before temperatures drop. This prevents heat loss and reduces the risk of freezing in extreme cold. Pipe insulation costs about $1 per six-foot section at any hardware store.
Tankless Water Heater Schedule
Tankless units have a simpler schedule but still need regular attention.
| Task | Frequency | Notes |
|---|---|---|
| Descale the heat exchanger | Every 12 months | Use white vinegar circulated through the service valves |
| Clean the inlet filter | Every 6 months | Pull the filter screen from the cold water inlet and rinse |
| Check the venting (gas units) | Annually | Look for blockages, corrosion, or disconnected joints |
| Inspect the flame (gas units) | Annually | Should burn blue with no yellow tips |
| Check error code history | Every 6 months | Most units store fault codes that indicate developing issues |
For descaling, a pump-driven flush kit makes the job faster. The My PlumbingStuff Tankless Flush Kit includes the pump, hoses, and bucket you need.
Tools You Should Have on Hand
Keep these in a bucket near your water heater so there is no excuse to skip a maintenance session:
| Tool | Use | Approximate Cost |
|---|---|---|
| Garden hose (hot water rated) | Flushing and draining | $20-30 |
| 1-1/16” socket + breaker bar | Anode rod removal | $15-25 |
| Flat-head screwdriver | Thermostat adjustment, access panels | $5 |
| 5-gallon bucket | Catching drain water, checking sediment | $5 |
| Cooking thermometer | Verifying temperature at the tap | $8-12 |
| Adjustable pliers | Stuck valve handles | $10 |
| Teflon tape | Sealing threaded connections | $3 |
The Printable Version
Here is the condensed schedule you can tape to the side of your water heater or tack up on the wall next to it:
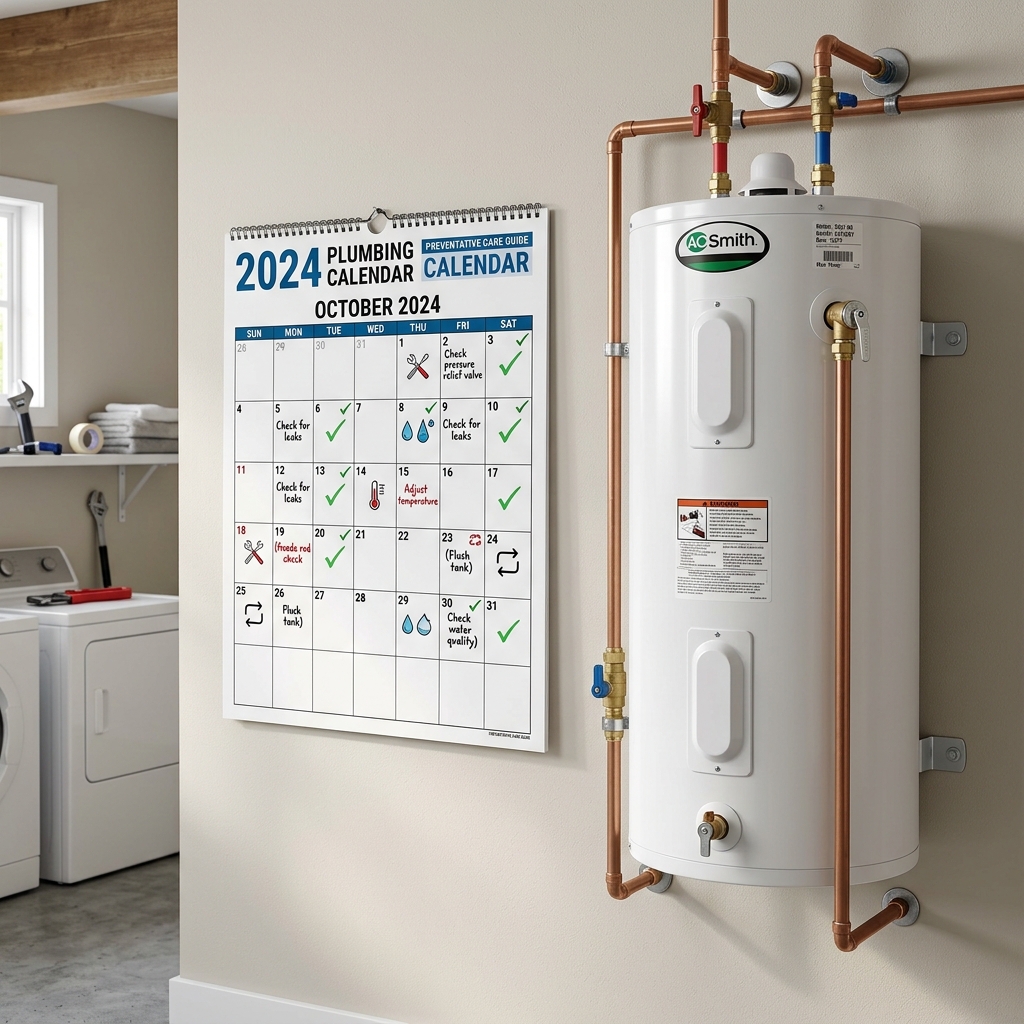
Spring: Full tank flush, drain valve inspection Summer: Anode rod check, replace if depleted Fall: T&P valve test, temperature check, visual inspection Winter: Listen for noises, check for condensation, insulate pipes
Mark the dates on your calendar. Set phone reminders. Whatever system works for you. The entire yearly routine takes less than two hours total, spread across four sessions.
Frequently Asked Questions
How often should I flush my water heater?
Once a year for most households. If you have hard water above 120 ppm, flush every 6 months. Homes with water softeners can usually stick to an annual schedule since the softener removes most of the minerals that cause sediment.
What is the most important water heater maintenance task?
Flushing the tank. Sediment buildup is the number one cause of premature tank failure, reduced efficiency, and noise. If you only do one thing per year, make it a full flush.
Do tankless water heaters need maintenance too?
Yes. Tankless units need descaling every 12 months to remove mineral scale from the heat exchanger. Skip this and you will see reduced flow rates, error codes, and eventually damage to the unit.
Can I do all water heater maintenance myself?
Most tasks are DIY-friendly. Flushing, anode rod inspection, T&P valve testing, and temperature checks all require basic tools. Gas valve repairs and gas line work should be left to a licensed plumber.
What tools do I need for water heater maintenance?
A garden hose, a 1-1/16 inch socket wrench, a flat-head screwdriver, a 5-gallon bucket, and a cooking thermometer. For the anode rod, you may also want a breaker bar or impact wrench if the rod is seized.
Skip the Seasonal Tape, Call a Plumber
- You smell gas, or the flue is loose / soot-stained — that is water heater safety, not a fall inspection
- Water is coming from the steel shell or under the foam, not a fitting
- The T&P will not open, or it will not reseat, and you cannot isolate the tank
- The anode hex will not turn without loading the tank fitting
- You cannot isolate an electric tank at the breaker (panel work is not this page)
- The tank sits over finished floor and you cannot control the remaining water
Handle a confirmed seasonal flush, T&P lift into a bucket, and a free-turning anode yourself if the tank is isolated. For the DIY-versus-call split: water heater repair: DIY vs. plumber. Symptom index: troubleshooting.
Related Guides
- Annual Water Heater Maintenance Checklist
- Gas vs. Electric Water Heater Maintenance
- How to Winterize a Water Heater
- 5 Signs Your Water Heater Needs Flushing
- How to Flush a Water Heater
- When to Replace Your Anode Rod
- Water Heater Safety Guide
- Signs Your Water Heater Is Failing
- How to Flush Hub
- Water Heater Maintenance Tools
- Water Heater Troubleshooting
- How We Make Money
Sources
- U.S. Department of Energy, Water Heating, Maintenance and efficiency guidance
- International Association of Certified Home Inspectors, Inspection standards
- Rheem, Water Heater Maintenance Tips, Manufacturer recommendations
Editorial Team
Nobody should pay a plumber $300 to turn a drain valve. Our guides are built from manufacturer documentation, plumbing code references, and the documented experience of homeowners and plumbers.